
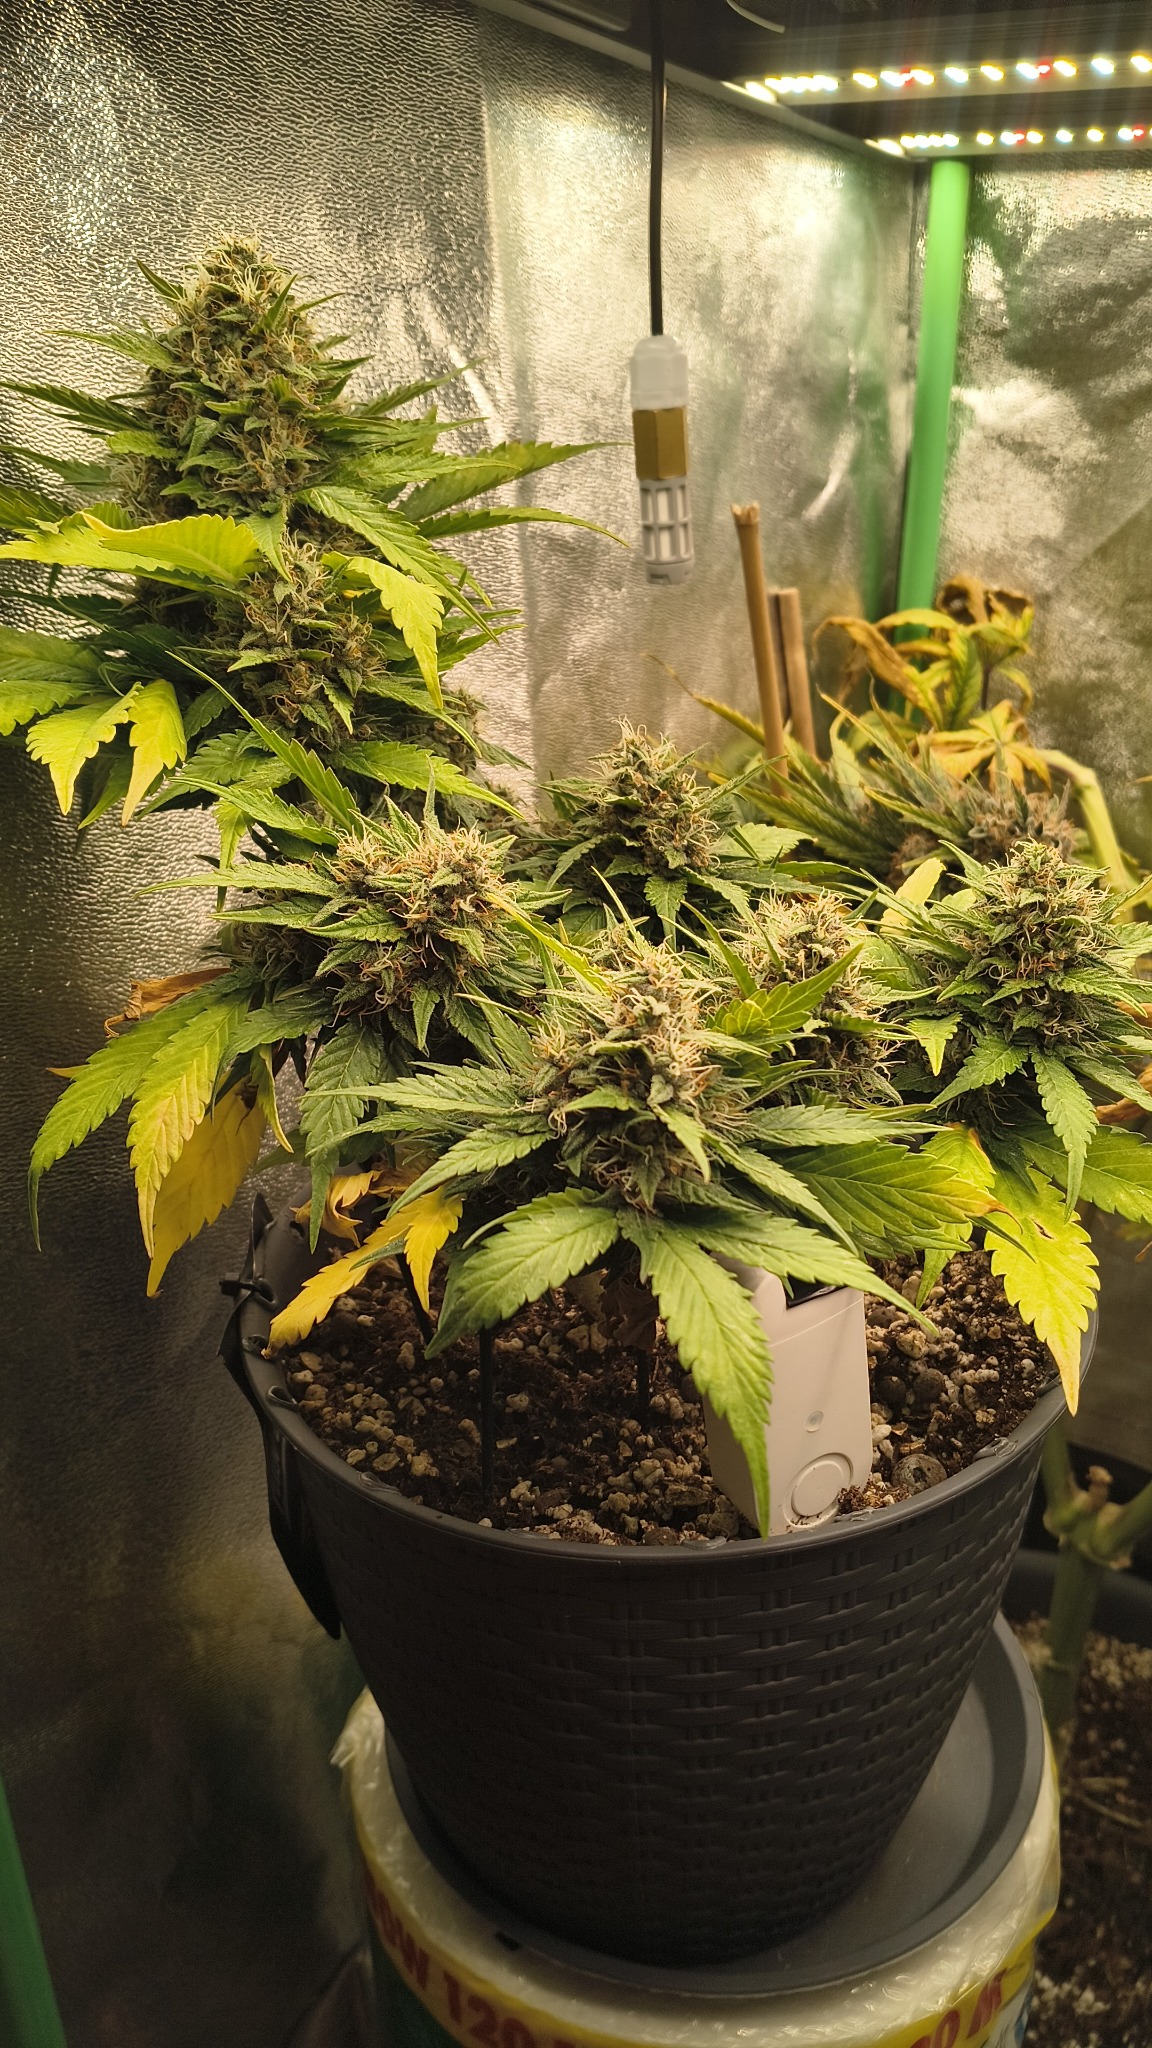
Monitoring temperature and humidity in a grow tent sounds simple until you compare readings from different parts of the enclosure. The air under the light can be warmer than the air near the intake, while humidifier mist can create a local wet zone that one sensor may over-report.
For my own Home Assistant setup, I use one ESP32 connected to two SHT40 temperature and humidity sensors. Each probe sits in a different part of the grow space and appears in Home Assistant as a separate temperature and humidity entity. SmartGrowLab Climate Brain then uses those readings for VPD-based climate control.
This article documents the configuration that is actually running in my setup.
What this guide covers
In this guide, I show:
- how to connect two SHT40 sensors to one ESP32,
- how to configure two I2C buses in ESPHome,
- how to calibrate the humidity readings,
- where to place the probes in a grow tent,
- how the sensors appear in Home Assistant,
- how the readings can be used for VPD automation.
Why I use two SHT40 sensors
A single sensor can be enough for a small tent, but it only describes one point in the grow space. I wanted to see whether the canopy climate was reasonably even instead of trusting one number.
- Two sensors let me compare different parts of the canopy.
- Home Assistant can average the readings.
- A failed sensor does not immediately remove all climate data.
- Large differences can reveal poor airflow or bad sensor placement.
SmartGrowLab Climate Brain supports up to two temperature and two humidity entities. When both are available, it averages them. If one configured sensor stops returning a valid value, the second one can still keep the system informed while diagnostics report degraded redundancy.
Hardware for an ESP32 Grow Tent Temperature and Humidity Sensor
ESP32 development board using the esp32dev board profile and ESP-IDF framework.
Two wired SHT40 temperature and humidity modules.
One probe uses a cable I made from UTP twisted-pair cable. The second was purchased with a 3 m cable.
ESPHome, Home Assistant and SmartGrowLab Climate Brain.
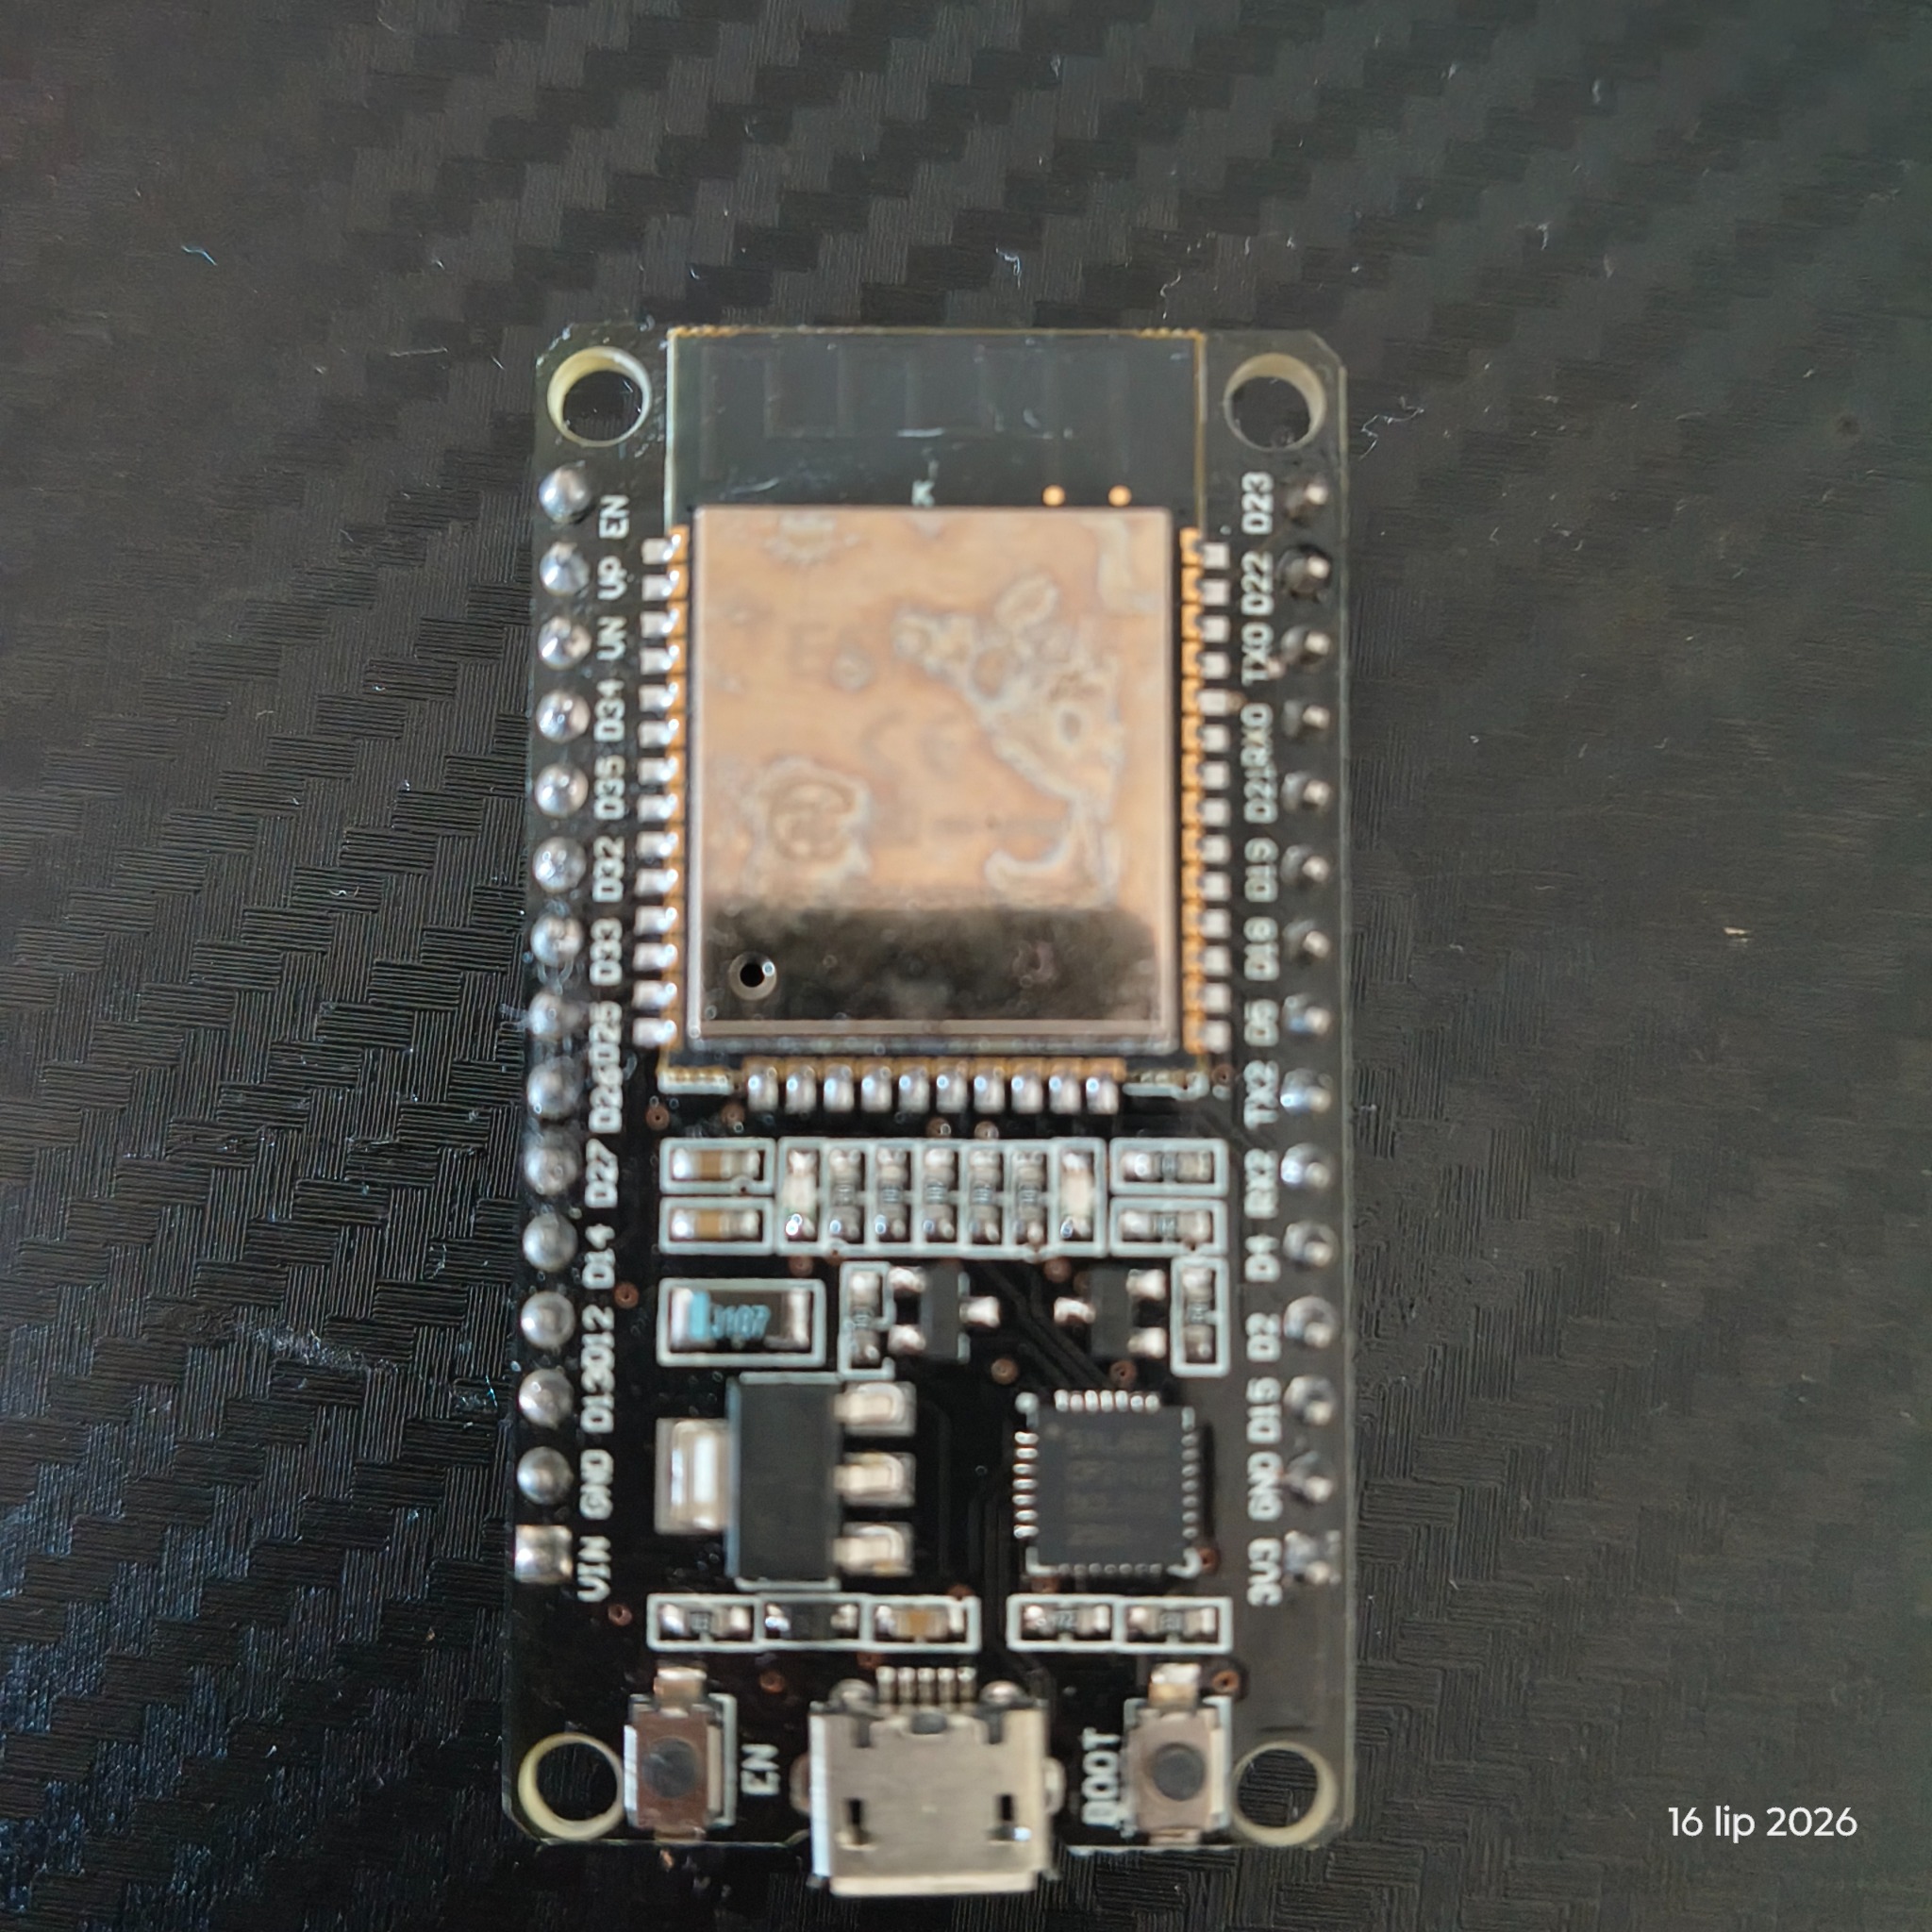
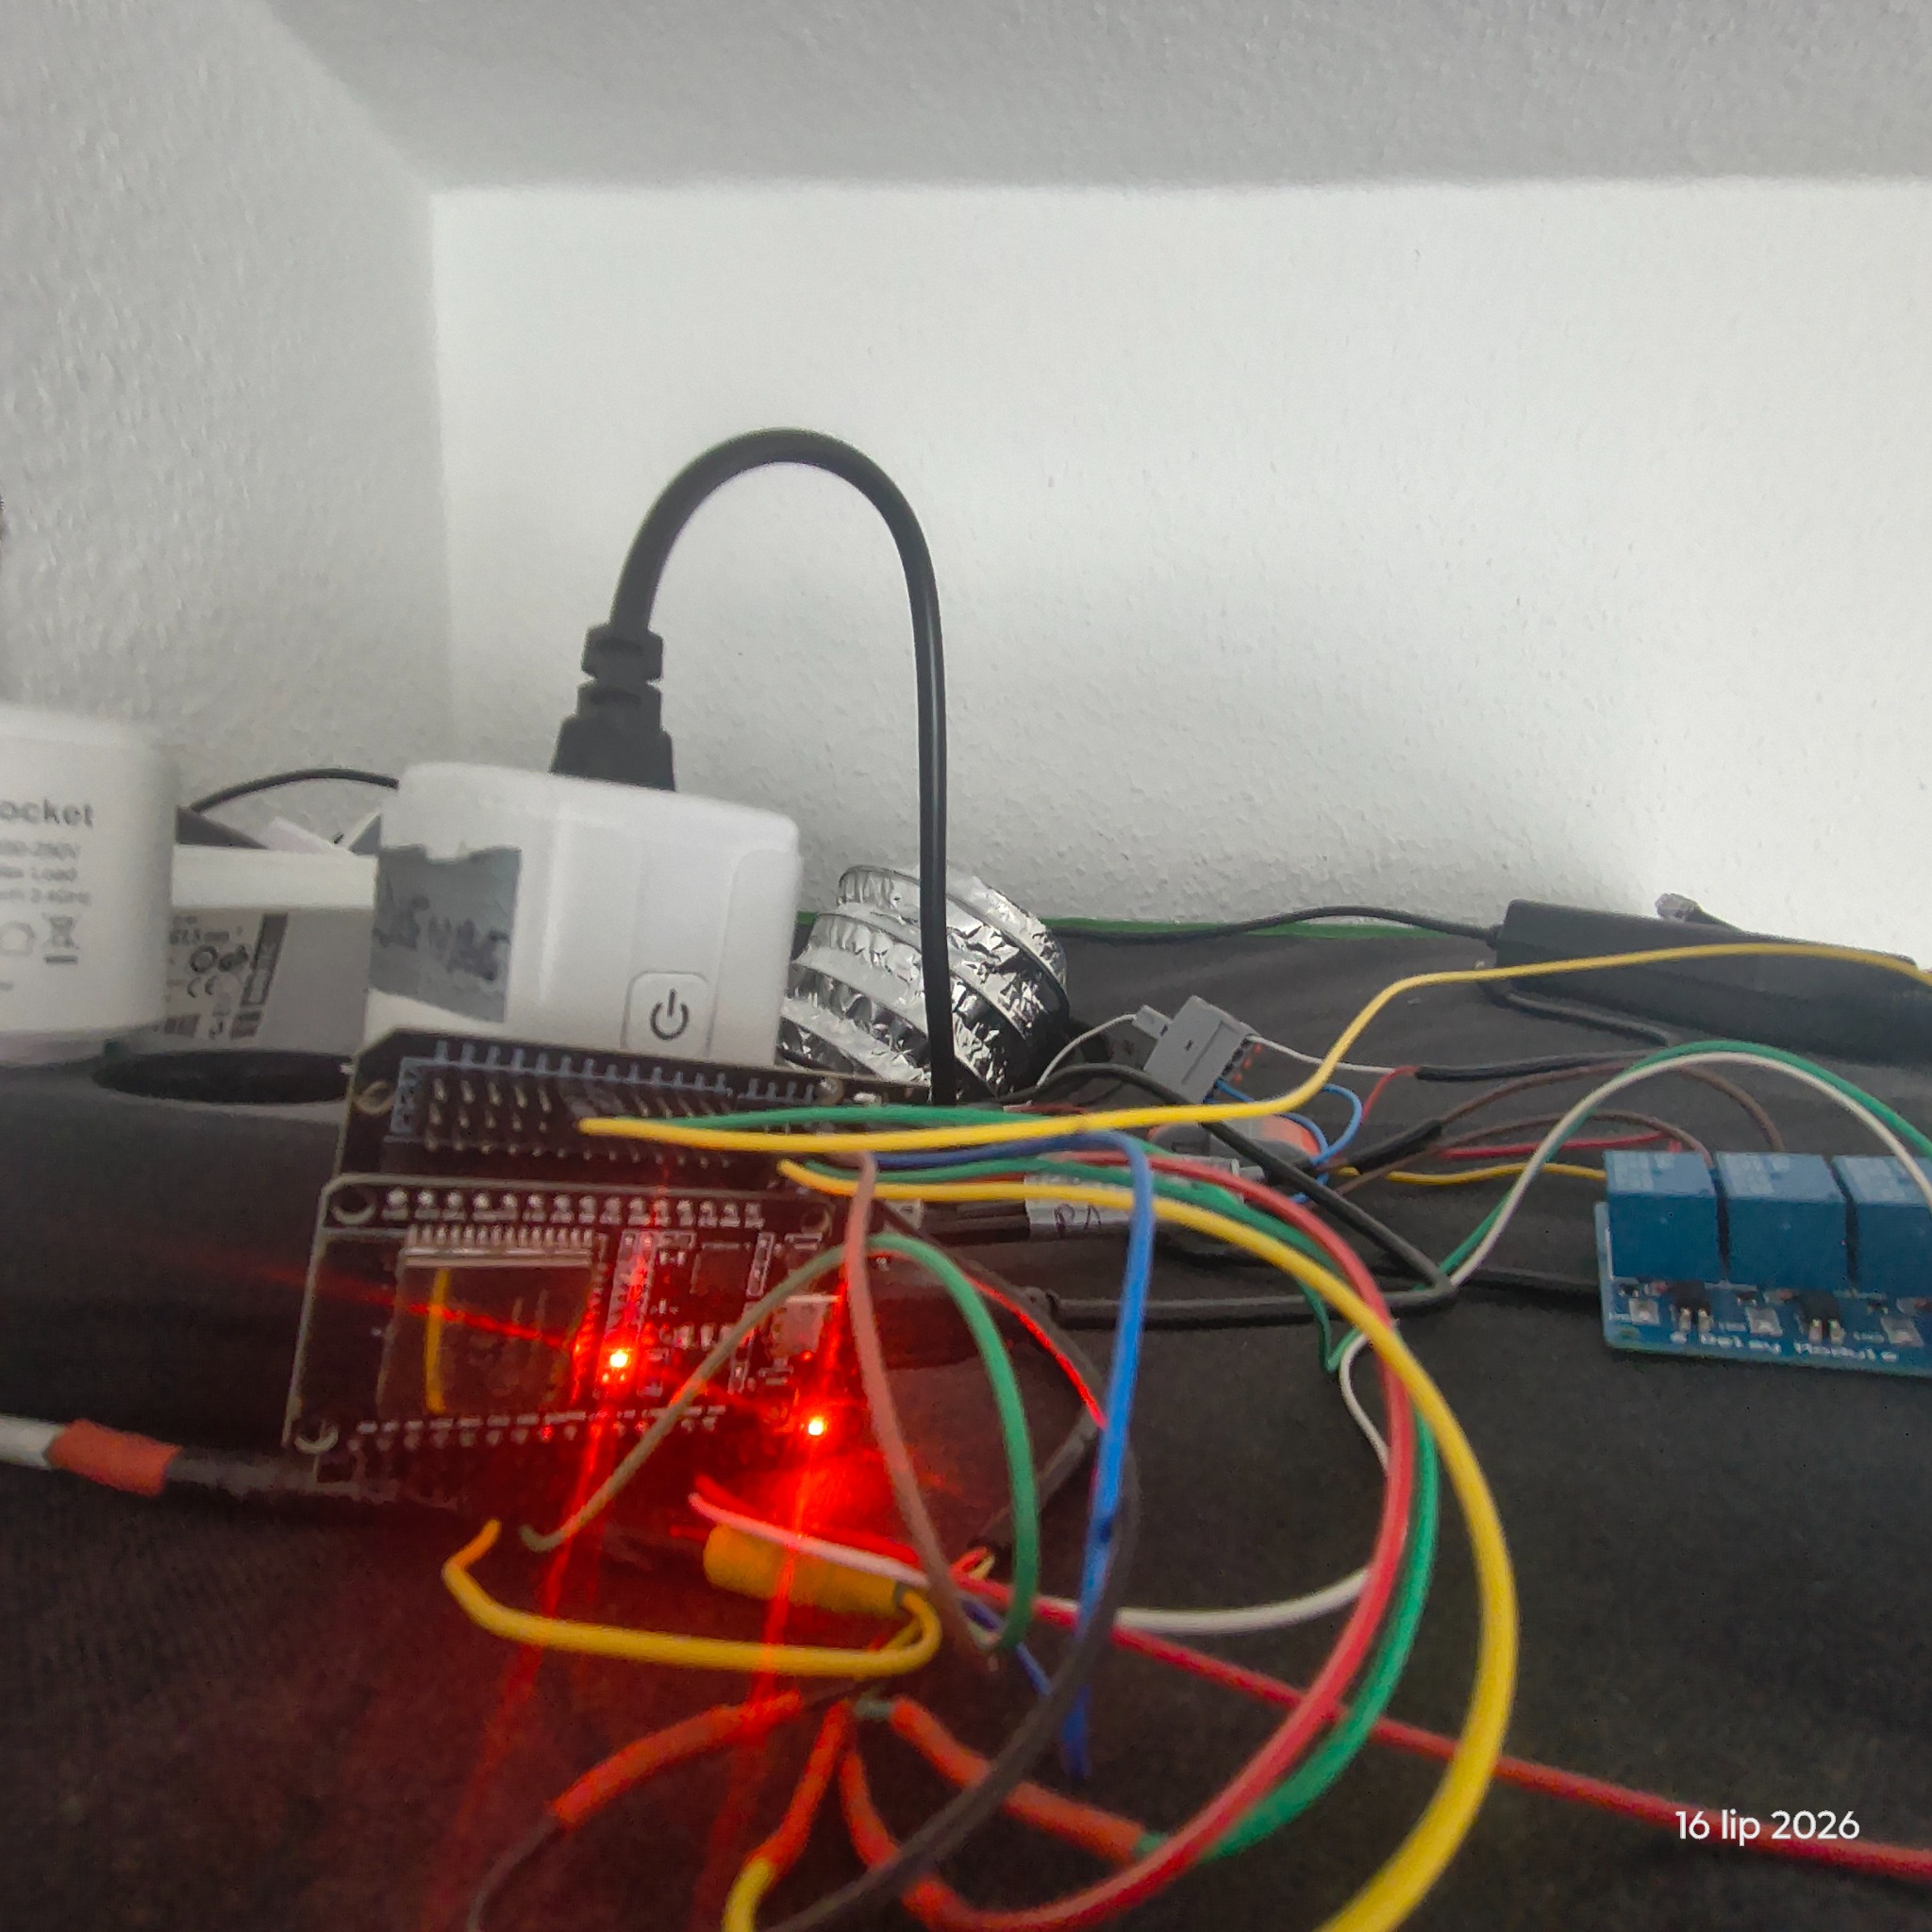
The electronics are placed on top of the grow tent. The sensor cables run down into the enclosure. This keeps the controller away from the most humid air while allowing the probes to stay close to the plants.
Why I use two independent I2C buses
Both SHT40 modules use the same default I2C address: 0x44. Two identical fixed-address sensors cannot normally share one bus without additional hardware.
Instead of adding an I2C multiplexer, I configured two software-defined I2C buses on the ESP32:
| Bus | SDA | SCL | Sensor address |
|---|---|---|---|
| bus_a | GPIO21 | GPIO22 | 0x44 |
| bus_b | GPIO33 | GPIO32 | 0x44 |
In my wiring, green is SDA and yellow is SCL. Both buses run at 10 kHz. That is slower than the usual I2C rate, but it has been reliable with my external cable runs. The sensors update every five seconds, so the lower speed has no practical downside here.
Short, clean wiring may work perfectly at the default bus speed. I use 10 kHz because this is the configuration that proved stable in my installation.
Complete ESPHome configuration
The example below is a cleaned public version of my configuration. Network details are replaced with neutral examples and secrets.
esphome:
  name: esp-growbox
  friendly_name: esp_growbox

esp32:
  board: esp32dev
  framework:
    type: esp-idf

logger:
  level: DEBUG

api:

ota:
  - platform: esphome

wifi:
  ssid: !secret wifi_ssid
  password: !secret wifi_password
  manual_ip:
    static_ip: 192.168.1.50
    gateway: 192.168.1.1
    subnet: 255.255.255.0
  power_save_mode: none
  fast_connect: true
  ap:
    ssid: "Esp-Growbox Fallback Hotspot"
    password: !secret fallback_ap_password

captive_portal:

web_server:
  port: 80

i2c:
  - id: bus_a
    sda: 21
    scl: 22
    scan: true
    frequency: 10kHz
    timeout: 50ms

  - id: bus_b
    sda: 33
    scl: 32
    scan: true
    frequency: 10kHz
    timeout: 50ms

sensor:
  - platform: sht4x
    i2c_id: bus_a
    address: 0x44
    update_interval: 5s
    heater_time: Short
    heater_power: Low
    heater_max_duty: 0.00

    temperature:
      name: "Temperature"
      id: long_cable_temperature
      filters:
        - median:
            window_size: 3
            send_every: 1
            send_first_at: 1
        - offset: 0.03

    humidity:
      name: "Humidity"
      id: long_cable_humidity
      filters:
        - median:
            window_size: 3
            send_every: 1
            send_first_at: 1
        - offset: 3.44

  - platform: sht4x
    i2c_id: bus_b
    address: 0x44
    update_interval: 5s
    heater_time: Short
    heater_power: Low
    heater_max_duty: 0.00

    temperature:
      name: "Temperature 2"
      id: short_cable_temperature
      filters:
        - median:
            window_size: 3
            send_every: 1
            send_first_at: 1
        - offset: -0.07

    humidity:
      name: "Humidity 2"
      id: short_cable_humidity
      filters:
        - median:
            window_size: 3
            send_every: 1
            send_first_at: 1
        - offset: 7.61
The median filter uses the latest three readings. It removes isolated spikes without making the sensors feel slow. The offsets are applied after filtering.
Important: the offsets above belong to my two modules. They are not universal SHT40 corrections and should not be copied blindly.
How I calibrated both sensors
I placed both SHT40 probes in the same sealed bag with a damp salt mixture. I also placed a previously calibrated temperature and humidity sensor in the same bag as my reference.
After the readings had stabilised, I compared each SHT40 with the reference and applied an individual offset in ESPHome.
| Sensor | Temperature offset | Humidity offset |
|---|---|---|
| SHT40 on bus A | +0.03 °C | +3.44% RH |
| SHT40 on bus B | -0.07 °C | +7.61% RH |
The temperature readings were already very close. The larger differences appeared in humidity. That is why each module received its own correction.
- Do not let the probes touch the damp salt.
- Keep room temperature stable.
- Give the bag enough time to reach equilibrium.
- Repeat the comparison before accepting an offset.
- Re-check sensors after long exposure to a humid environment.
Where I place the probes in the grow tent
Both sensors hang below the grow light, roughly 20 cm below the fixture and usually several centimetres above the highest plant tops. As the plants grow, I adjust the height so the probes stay as close as practical to canopy level.
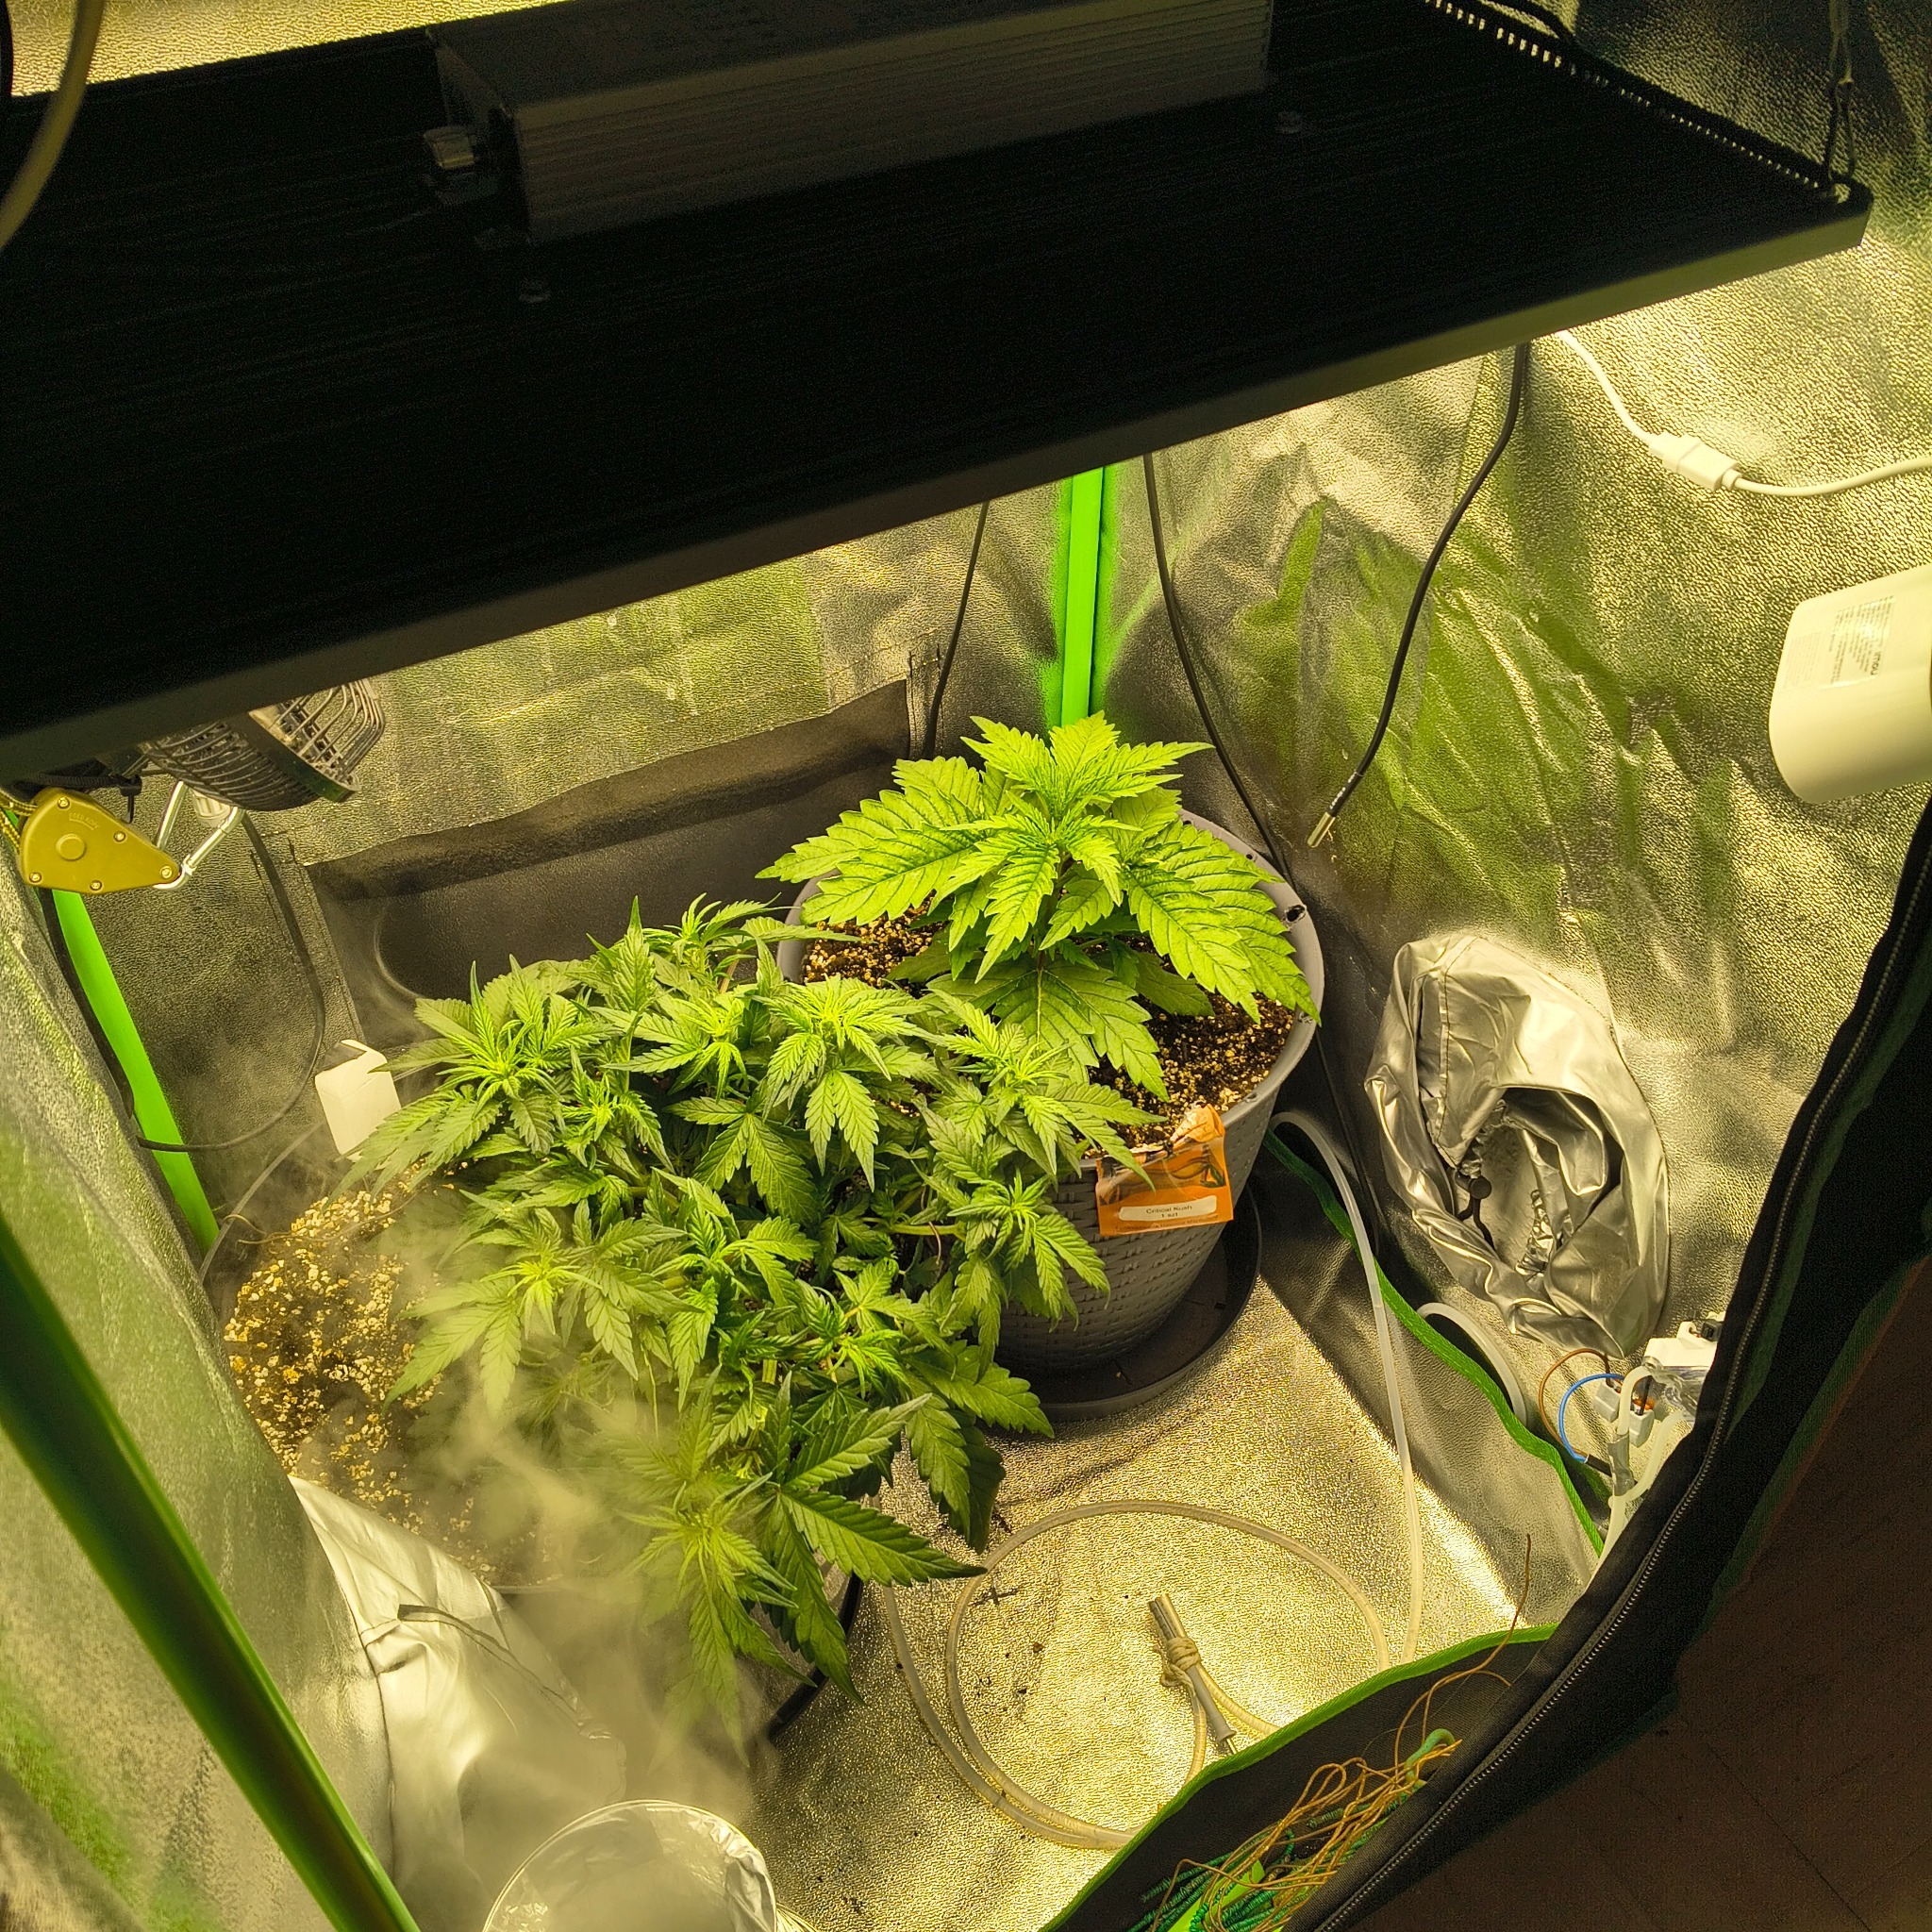
I try not to place them directly in humidifier mist, against the reflective wall or immediately in front of a circulation fan. The goal is to measure the air around the canopy, not one artificial hot, cold or wet spot.
The two readings do not need to be identical. A small difference is normal because the probes measure two physical locations. A persistent large difference is useful information: it may point to uneven airflow, local humidifier influence or poor placement.
What appears in Home Assistant
ESPHome creates four sensor entities:
sensor.esp_growbox_temperatura
sensor.esp_growbox_temperatura_2
sensor.esp_growbox_wilgotnosc
sensor.esp_growbox_wilgotnosc_2
It also exposes a connectivity binary sensor and a restart button.
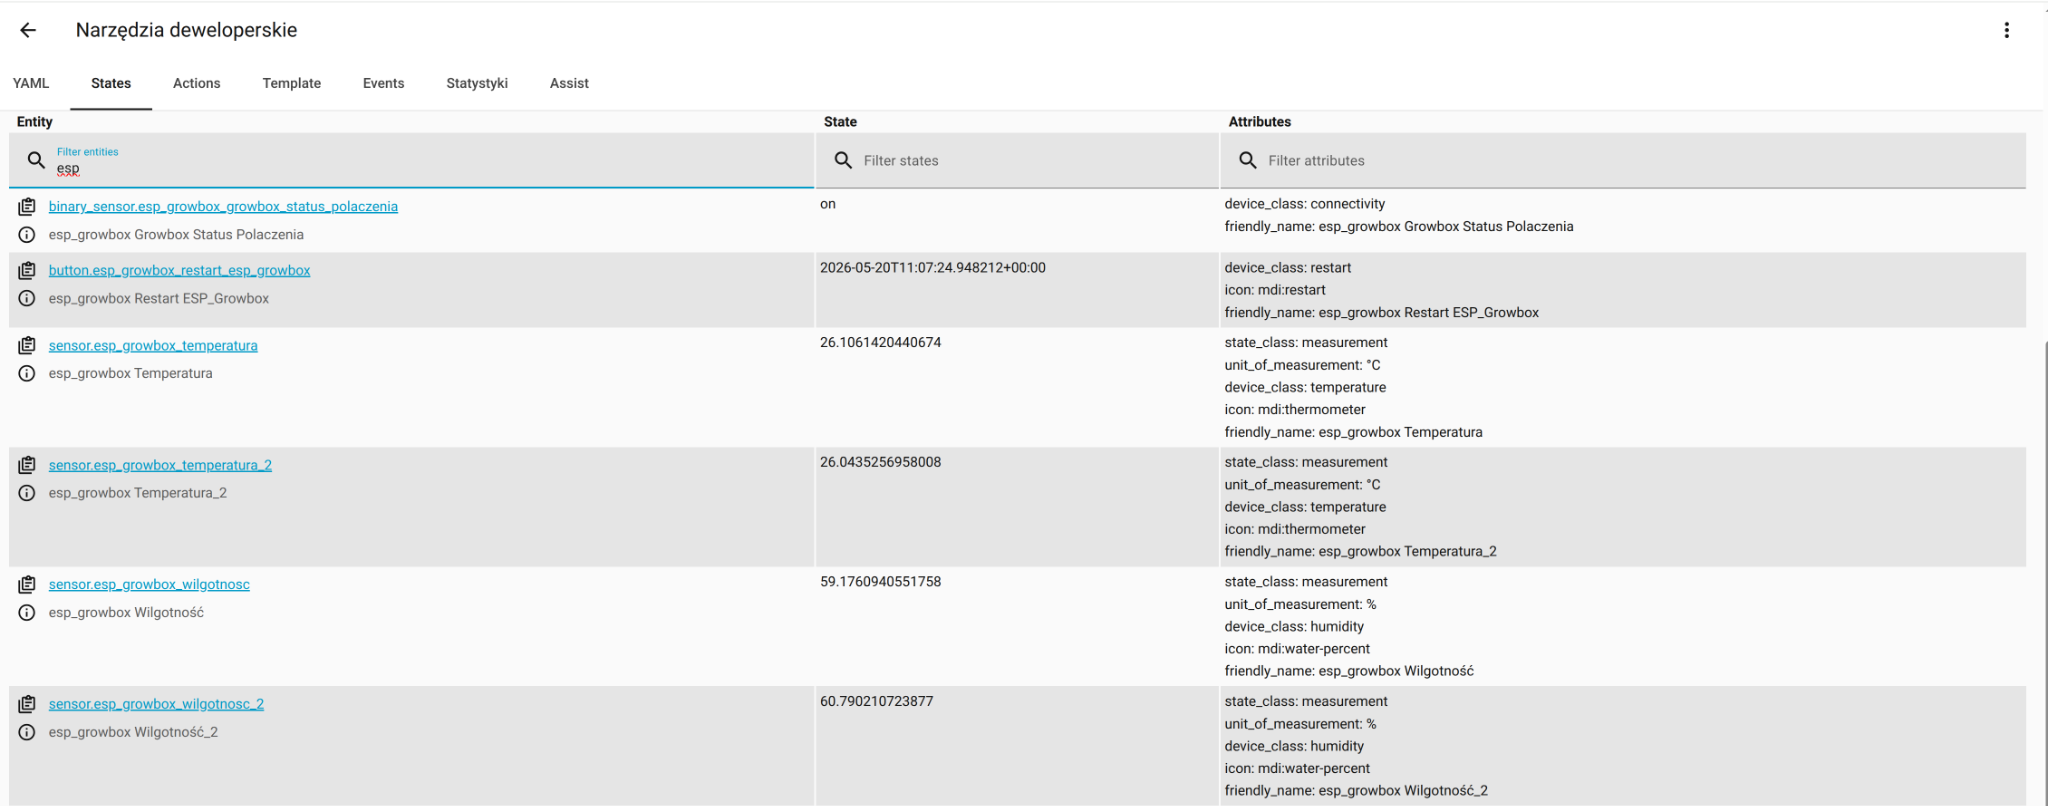
In this screenshot, the two temperature readings are about 26.11 °C and 26.04 °C. Humidity is about 59.18% and 60.79%. Those values are close enough to describe a reasonably even canopy climate at that moment.

Using the readings with SmartGrowLab Climate Brain
Climate Brain is sensor-brand agnostic. It only needs reliable temperature and humidity entities in Home Assistant.
In my installation I map the four entities as Sensor 1 and Sensor 2 for temperature and humidity. Climate Brain then validates them, averages valid readings, calculates VPD and applies the targets for the current growth phase and day or night period.
SHT40 probes
  -> ESP32
  -> ESPHome
  -> Home Assistant sensor entities
  -> SmartGrowLab Climate Brain
  -> fan, humidifier and optional heater
This separation is useful: ESPHome handles local measurement and connectivity, while Home Assistant handles the higher-level climate logic, diagnostics and safety rules.
What I would recommend for a similar build
- Keep the ESP32 and exposed electronics outside the humid grow area.
- Use strain relief where long sensor cables enter the enclosure.
- Keep mains wiring physically separate from low-voltage sensor wiring.
- Protect relay terminals and other exposed mains contacts.
- Label both probes so their Home Assistant entities match their physical positions.
- Calibrate each sensor separately instead of copying someone else's offsets.
FAQ
Can I connect two SHT40 sensors to one ESP32?
Yes. In this setup each sensor uses its own I2C bus, so both can keep the same 0x44 address.
Does SHT40 work with ESPHome?
Yes. ESPHome supports the SHT4x family and exposes temperature and humidity readings directly to Home Assistant.
Is one sensor enough?
One sensor is enough for basic monitoring. Two sensors add redundancy and help show whether the canopy climate is even.
Why use 10 kHz I2C?
I use it because it has been stable with my cable runs. Shorter wiring may work perfectly at the default speed.
What is the best temperature and humidity sensor for an ESPHome grow tent?
I use SHT40 modules because they provide temperature and humidity over I2C and are supported directly by ESPHome. The best choice still depends on cable length, enclosure and required accuracy.
Can this ESP32 sensor be used for VPD in Home Assistant?
Yes. Home Assistant receives temperature and humidity as separate sensor entities. These values can then be used to calculate VPD manually or by an automation package such as SmartGrowLab Climate Brain.
Where should a grow tent sensor be placed?
Place it close to canopy height, but outside direct humidifier mist, strong fan airflow and direct heat from the grow light.
From monitoring to automatic VPD control
This ESP32 node provides the measurements. SmartGrowLab Climate Brain uses them to control the grow tent climate inside Home Assistant.
See Climate BrainRead the VPD automation guide